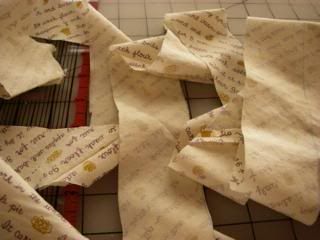
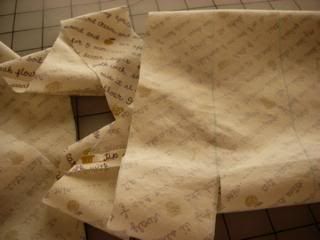
It's very important to cut on the lines.
After a whole lot of ironing this is what you get.
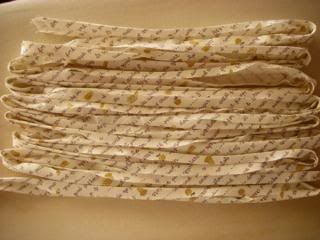
Loads of bias tape.
My practice bias tape was in purple batik.
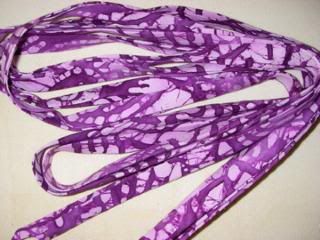
I have to admit that I was too afraid to start with my super cute fabric. Yes I did buy a bias tape maker but I didn't really like it. It didn't run smoothly over the joins so I had to bust it out the old fashioned way. With the iron.
Just a word of caution...run the bias tape in front of the iron not behind.
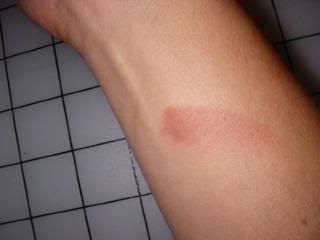
Ouchy. I reached around the iron to move the bias tape and GOTCHA!
Making bias tape is fairly easy. The hardest part for me was the ironing. Mostly because I don't like to iron & obviously I shouldn't be handling such an unwieldy tool. I once burnt my stomach while ironing naked. Ironing is for the clothed and heavy handed. Oh yea, and the patient too. I love sewing and will make friends with my iron in time. I hope. But it is so satisfying to learn something new and have a new stash of stuff to show for it & to sew with.
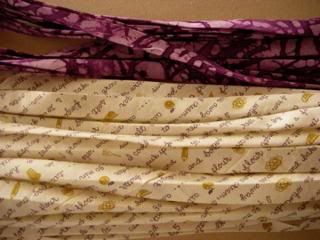
Woohoo! Look at all that tape!

No comments:
Post a Comment